Elevation to Plan

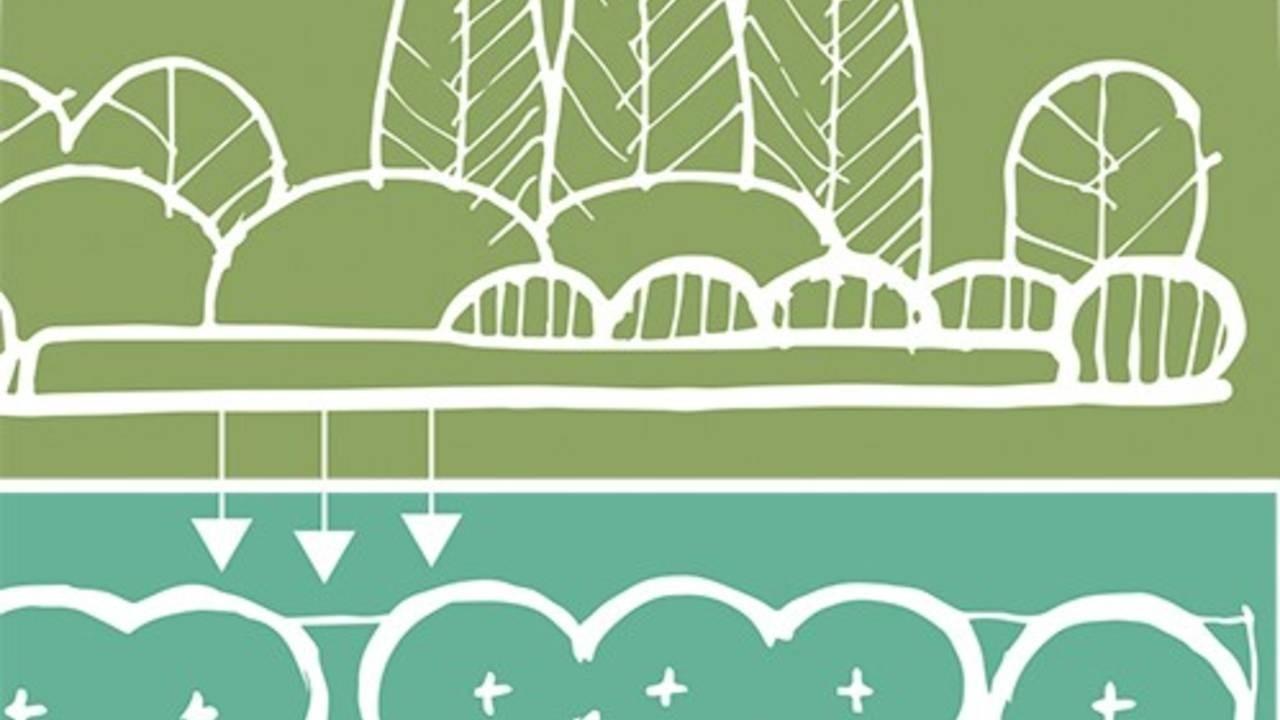
One of the best ways to design is to draw your ideas in elevation, especially when making a composition of plants. This allows you to visualize the plant forms in a holistic composition, rather then just looking at circles on paper...though those circles on paper are also important. A proper plan will help you design the appropriate amount of plants for the depth of the bed, plus it provides a drawing for the installation of your design.
If you stack these on top of the other and design both at the same time you gain an amazingly accurate visual of your final planting design.

ELEVATION: Drawing what you would see as if standing in front of it.
PLAN : Drawing what you would see as if you were floating above and looking down at the ground (birds-eye view).

These are the steps I follow when designing from elevation to plan:
1. Draw the area for the planting bed in PLAN view (not the plants yet, just the bedlines). Keep this in pencil, in case you need to make changes later.
2. Start drawing the ELEVATION above it so you can make the elevation line (the heavy line at the bottom of your elevation) the exact width as the bed.
3. Draw a nice composition of plant forms in ELEVATION (on the new line you just drew). Feel free to go through many, many options on tracing paper. Keep this in pencil, since you may need to tweak it. Learn more about drawing plant forms here.
4. Once you like the ELEVATION, start drawing those plants in your PLAN view. Use a straight edge to make sure the PLAN view lines up exactly with the plants in ELEVATION. Please see the image below.

5. Now you'll need to start going back and forth between the ELEVATION and PLAN to tweak both as needed. You may find there are too many plants or not enough for the proposed area. This step often takes the most time...which is why its important to keep everything in pencil until you are satisfied with both.
6. Once both ELEVATION and PLAN align nicely, step back and admire your work.


